


Welcome to your next obsession
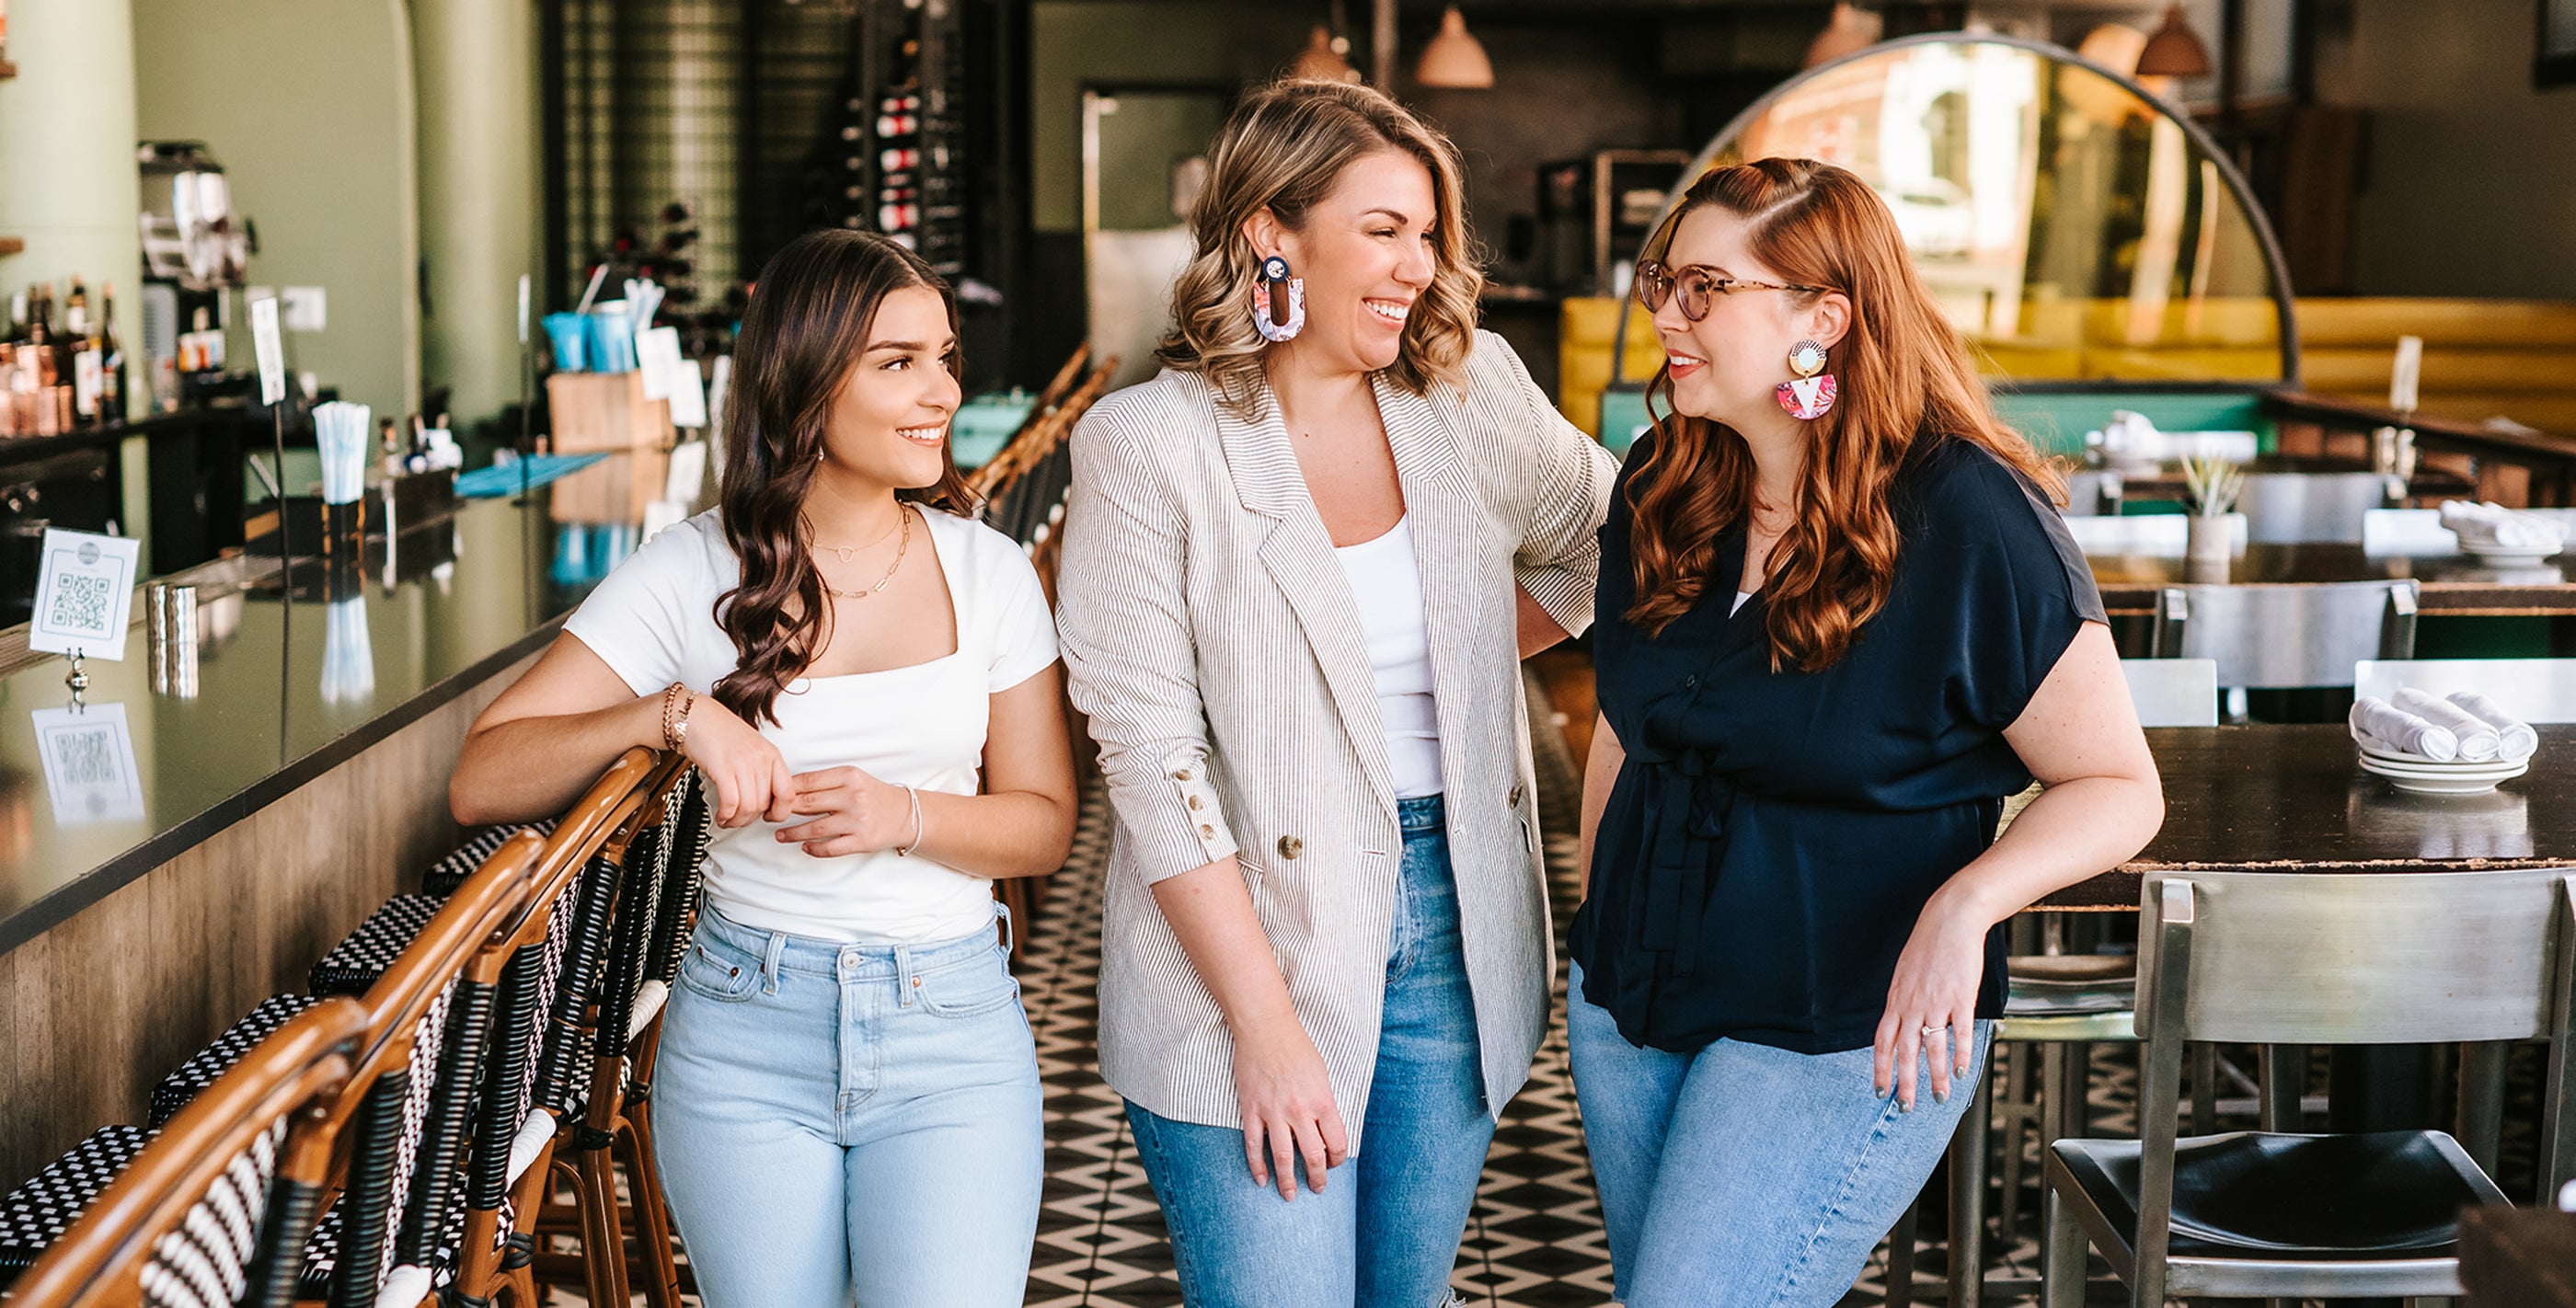
At Monday Morning Press, we craft handmade paper earrings that redefine effortless style. Our super lightweight creations boast playful designs and textures, seamlessly mixing patterns for a touch of uniqueness. Designed for simplicity, our earrings elevate your look – whether you're in a sweatshirt and sneaks or dressing up for a night on the town. We believe in making getting dressed simple, ensuring every woman feels confident and happy when they walk out the door. Our hope is that our earrings bring joy in the simple moments of your day while making a statement as unique as you!
mini of the week
limited quantities available


mini of the week - jennifer
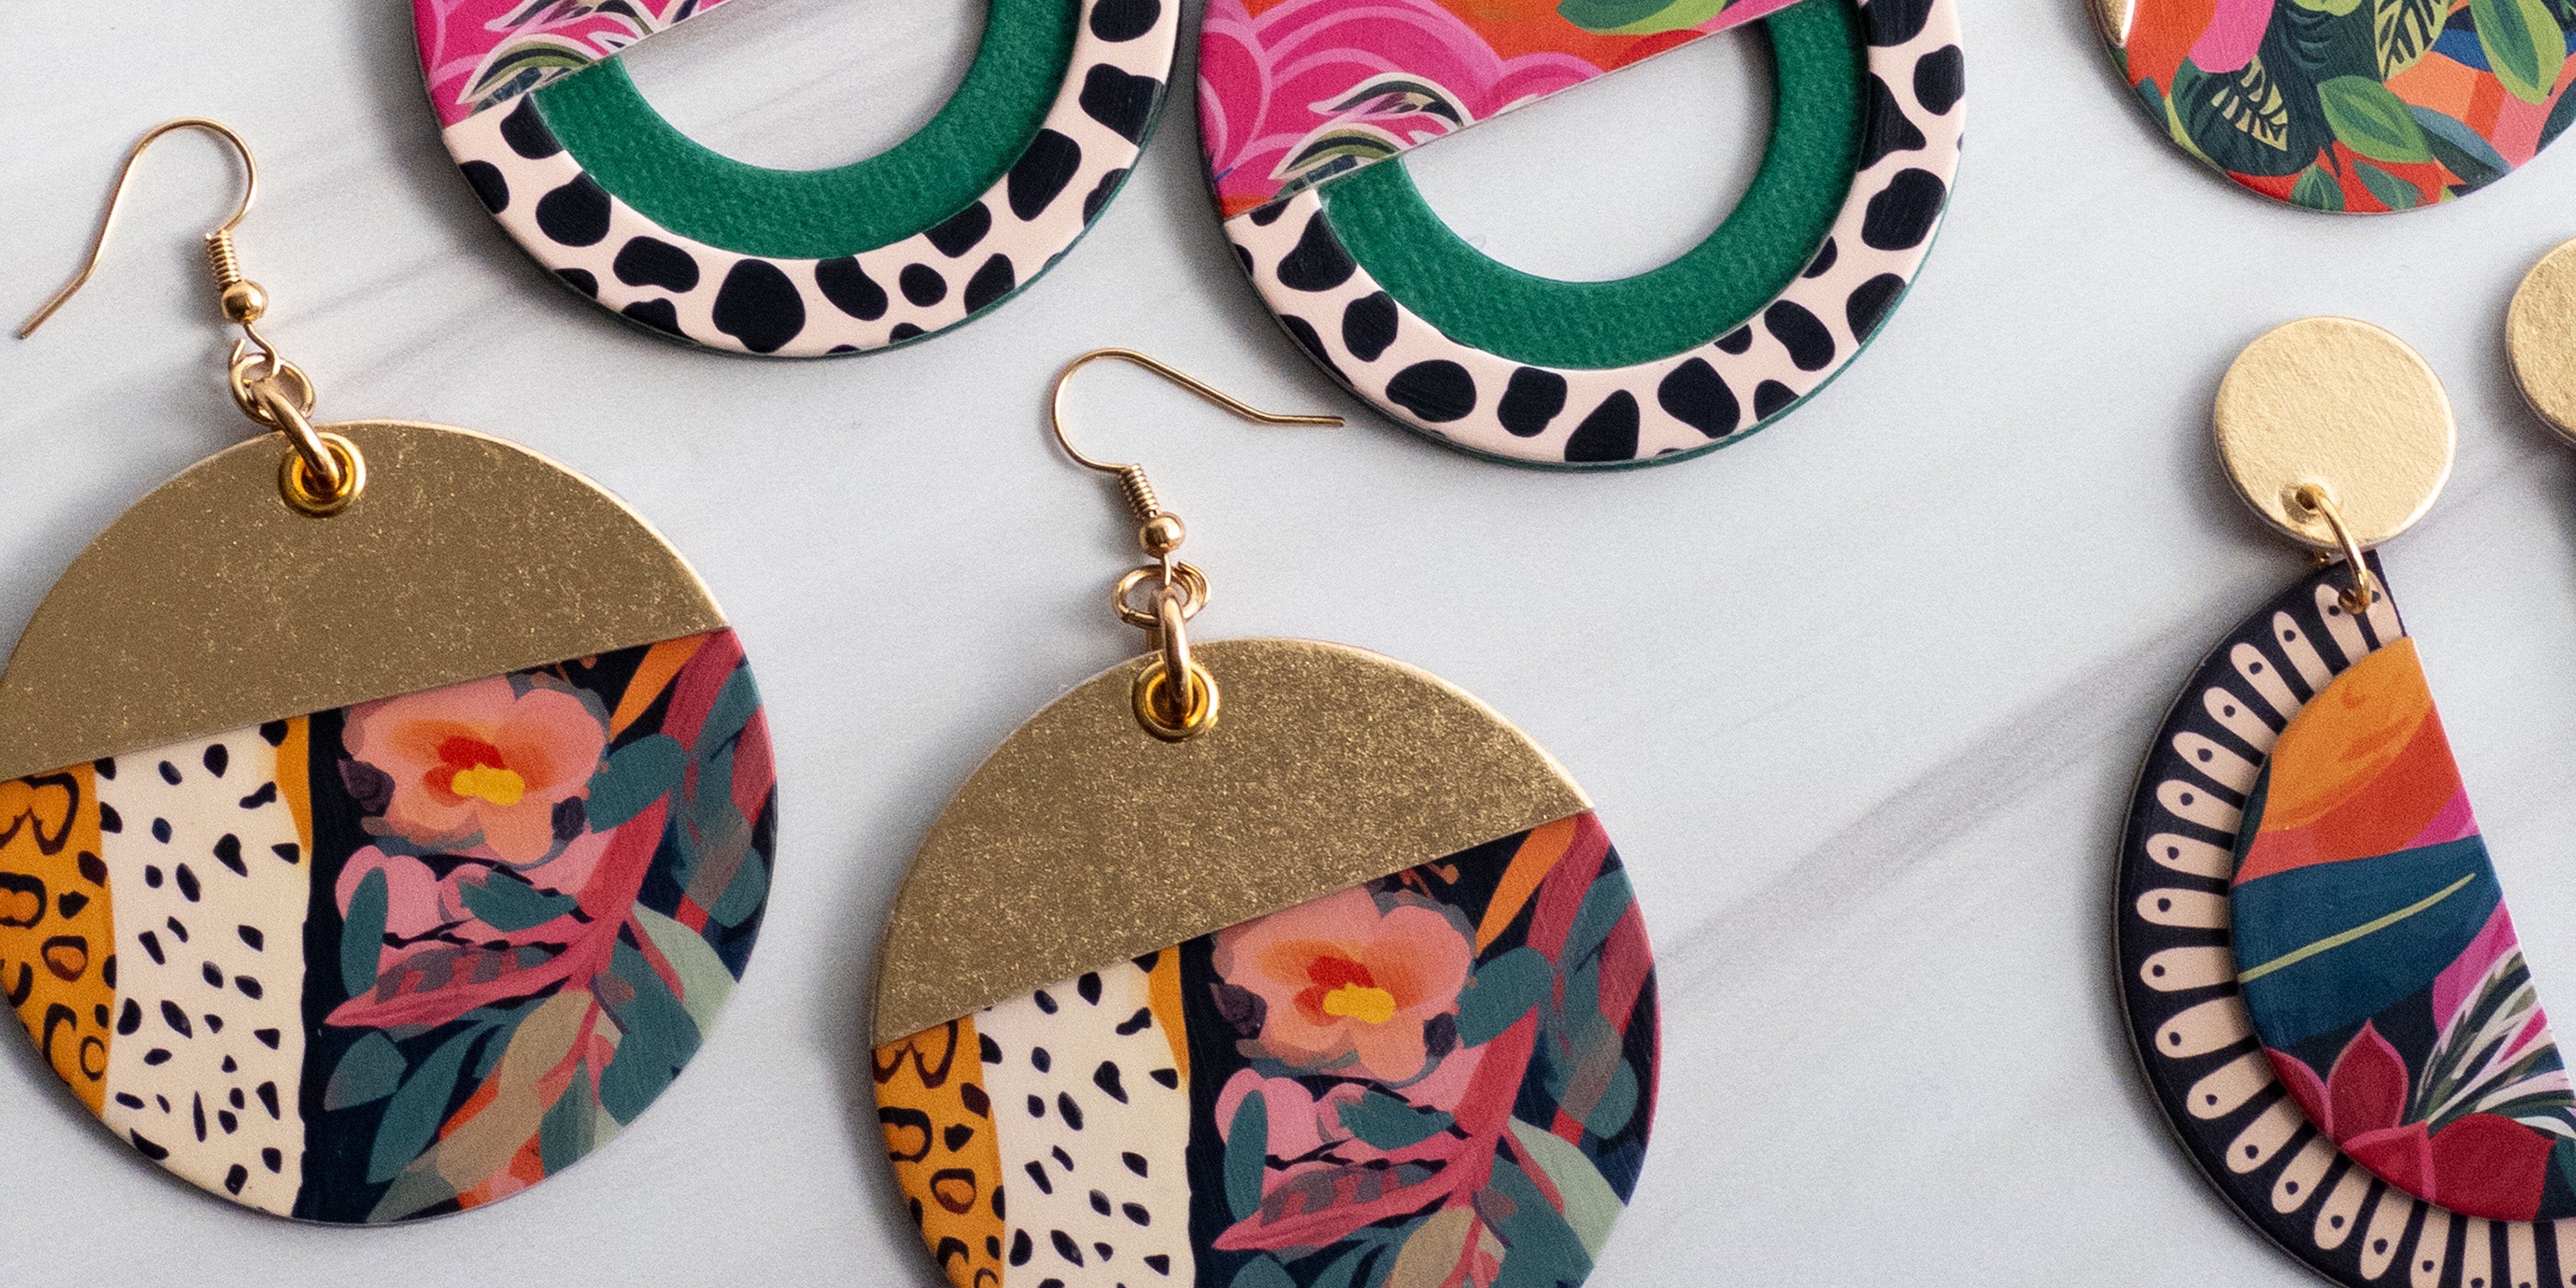
Size: 1" split circle with brass fan accent
Hardware: Post
All earrings are made out of paper. They are sealed for water resistance but are NOT waterproof, please treat with care. MMP is not responsible for water damage. Nickel free hardware.
For more information visit out FAQ page.
collections


join the cool kids club today!
Our exclusive monthly subscription box is now available!


Click title to purchase!
Treat yourself to our Earring of the Month Club! Each month, you'll unwrap a carefully curated, exclusive earring just for you. Dive into a variety of styles, colors, and patterns that will elevate your accessory game effortlessly. Build up your collection with lightweight, easy-to-wear pieces that keep you on-trend month after month.
Your card on file will be billed on the 5th of each month. You must skip/cancel by the 1st of the month for changes to take place. If you order after the 5th, you won't receive your first box until the following month. Boxes will ship by the 15th of each month.
*ALL SALES FINAL. Pictures are not indicative of specific EOTM earrings.